
Monero is one of the most popular cryptocurrencies and thanks to its ASIC-resistant cryptographic algorithm, it can only be mined using a GPU or a CPU. For this reason, it’s a very attractive coin for beginners looking to start mining cryptocurrency as you don’t need dedicated hardware to do it.
If you’re trying to find out how to mine Monero, our guide will explain everything you need to know from what software you need to install to configuring and running them.
How to mine Monero
As mentioned above, Monero can be mined using the CPU, GPU or even both at the same time. Depending on your GPU there are several software options.
If you want to mine Monero using one or more AMD cards you can use XMR Stak which has a 2% developer fee (unless you compile it yourself) or Wolf’s Miner which doesn’t have a fee but isn’t as optimized as XMR Stak.
For nVidia cards, Monero can be mined using XMR Stak (the same 2% dev fee applies) or CC Miner.
If you’d rather mine Monero using your computer’s CPU, you can use XMR Stak or Wolf’s Miner.
Install Monero mining software
For the purpose of this guide, we’ll show you how to install and setup XMR Stak. It’s one of the easiest to use Monero mining software applications. The latest update has brought a unified installer for all types of supported hardware.
To start, go ahead and download XMR Stak. It’s worth mentioning that like other mining software, your antivirus might detect XMR Stak as a malicious file. It’s certainly not, but you should only download it from the official website, just to be on the safe side.
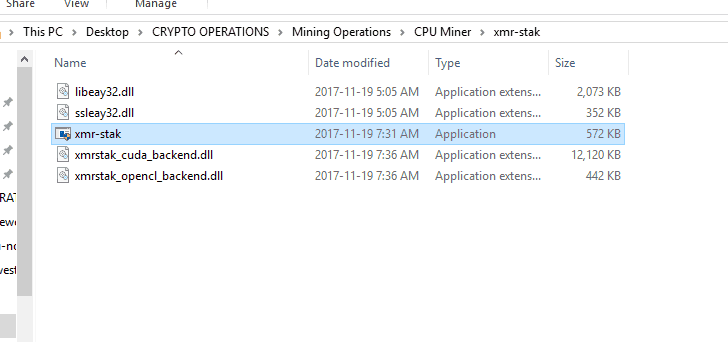
In this guide, we’re installing XMR Stak on a Windows computer but it also supports Linux and macOS operating systems. After you download the file, extract it and run the executable.
Configuring XMR Stak
After you launch XMR Stack you’ll be prompted to choose between mining Monero or Aeon, so select Monero. Then, you will need to add the pool address.
You might already know this but mining solo without having a very high hashrate won’t bring significant rewards so the best option is to join a mining pool. Most of them have a small fee although it’s definitely worth paying it as you will have a consistent income. Monero has several excellent mining pools to choose from.
- Moneropool
A well-known mining pool with a 0.5 XMR minimum payout.
Nanopool has a 1% pool fee, payout commission of 0.015 XMR with a minimum payout of 1 XMR and around 5,000 connected users. Servers are located in US East, US West, Europe, and Asia.
Dwarfpool has servers in the USA and Europe, a 1.5% fee and the payout commission is 0.008 XMR for normal wallets and 0.014 XMR for exchange wallets.
When selecting a mining pool you should definitely pay attention to the location of the server closest to you. Choosing the one with a server close to you is best to minimize latency.
Nevertheless, for the purpose of this guide, we chose the MineXMR mining pool. You can see all the connection details in the image below so you can enter them into the application.
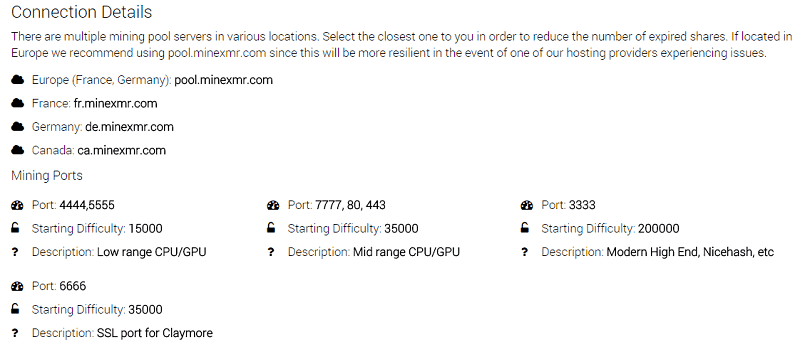
While we used a Canada-based server (‘ca.minerxmr.com:5555’) to be used with the port number, you should choose the server closest to you.
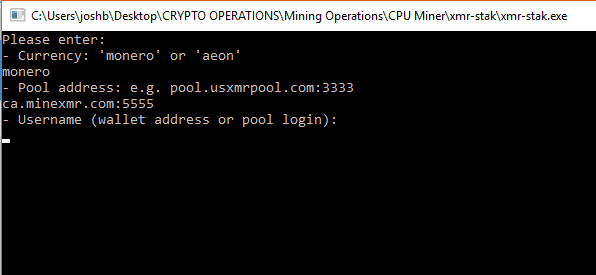
After you complete this step, the mining software will prompt you to enter your wallet address or pool login, depending on what pool you’re using. Enter your wallet ID into the application.
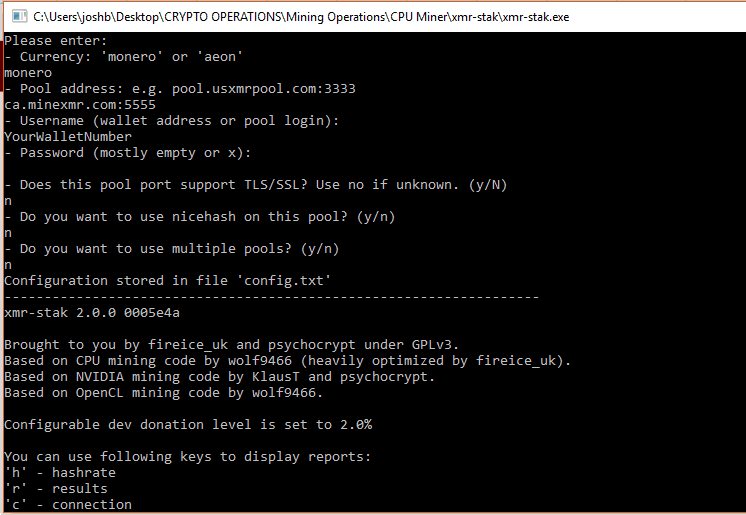
MinerXMR doesn’t provide any TLS/SSL support, and we didn’t need to use multiple pools so we didn’t need to setup a password. If such is your case, simply hit Enter.
You can easily adjust any of these values in the config files later, should you ever need to.
From this point on, the application will mine using your installed GPUs.
To view the status of your miners you can use the commands listed at the bottom, specifically ‘h’ to see the hashrate, ‘r’ to view results, and ‘c’ to check the connection to the pool.
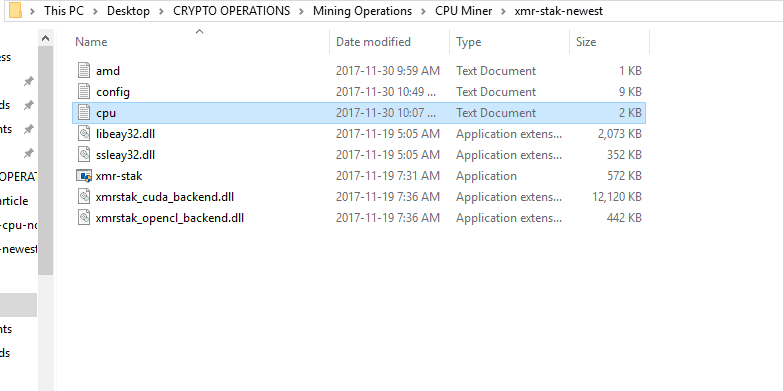
If you’d rather mine using your CPU, you will need to set up the CPU config file for this purpose. Click on the cpu.txt file to open it.
In the text document, you’ll need to add the CPU threads you want the software to use for mining Monero. We have an 8-core CPU and we want to mine with all of them except CPUs 3 and 8. So we’ll add the others to the text file and the command looks like this:
“cpu_threads_conf” :
[
{ “low_power_mode” : false, “no_prefetch” : true, “affine_to_cpu” : 1 },
{ “low_power_mode” : false, “no_prefetch” : true, “affine_to_cpu” : 2 },
{ “low_power_mode” : false, “no_prefetch” : true, “affine_to_cpu” : 4 },
{ “low_power_mode” : false, “no_prefetch” : true, “affine_to_cpu” : 5 },
{ “low_power_mode” : false, “no_prefetch” : true, “affine_to_cpu” : 6 },
{ “low_power_mode” : false, “no_prefetch” : true, “affine_to_cpu” : 7 },
],
Keep in mind that it’s possible to run all cores but the system might freeze in this case. There’s not a lot you can do to optimize the CPUs for mining although you can try adjusting the prefetch and see if that helps.
After you make the necessary changes you will need to restart the application and the hash rate should be significantly higher. If you’re not completely sure your CPU is being used, you can use a dedicated application like HWMonitor to check the CPU load.
Now that you know how to mine Monero, and you went through the basic setup, you can adjust the settings in the config file whenever it’s needed.


")


")
