
Evernote may be a freemium app but it’s extremely useful even if you’re not willing to invest in its paid features. As long as you’re sticking to the free version of the app, you might as well make the most of it – we have some great Evernote tips and tricks to help you get there faster!
The popular app is a pleasure to use and bundles a ton of features that help you stay organized, plus it’s available on the web, mobile, and desktop platforms.
6 Evernote tips and tricks to make you more productive
Regardless if you’re a seasoned or a new user, these Evernote tips and tricks may come in handy, so check them out and let us know which one’s your favorite.
Turn emails into notes
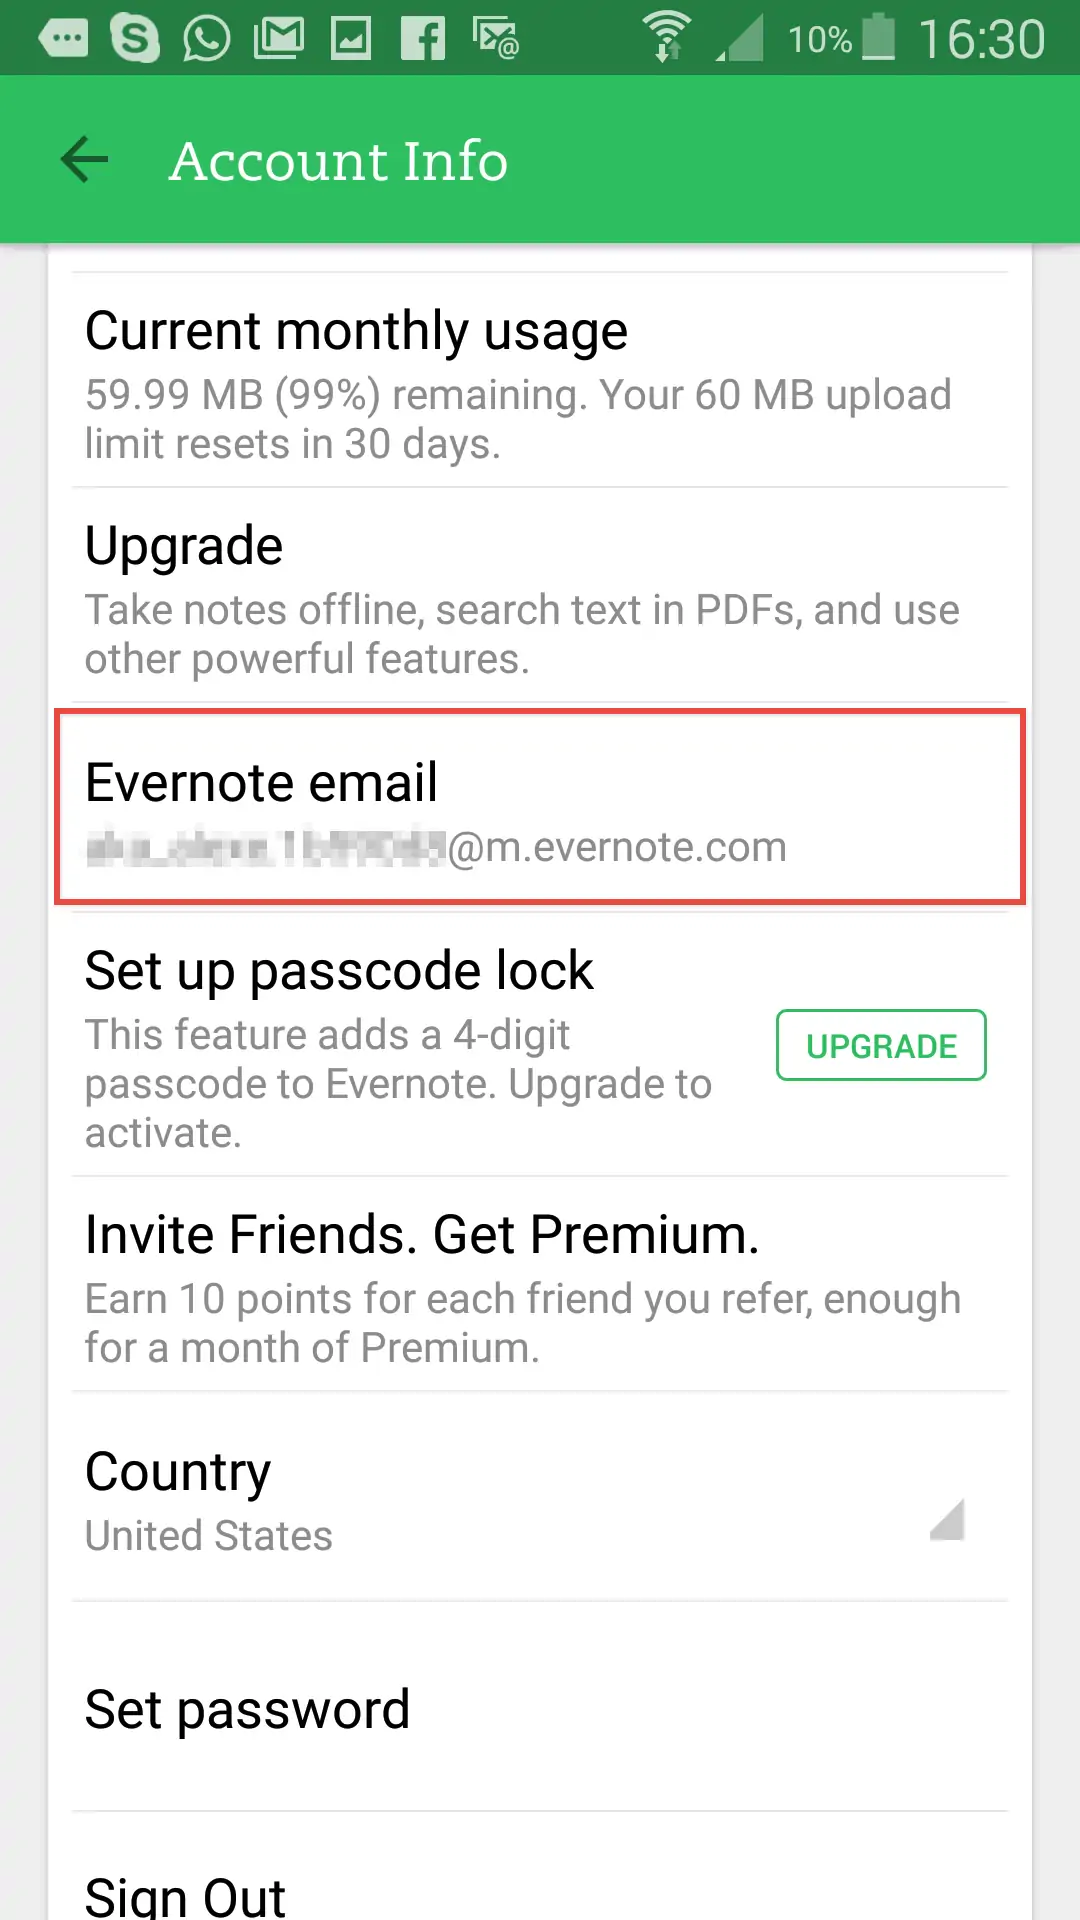
This is one of my favorite Evernote features and I’m sure you’ll find it useful at least every now and then. Instead of manually typing information from an email into Evernote, you can simply forward that message to the app.
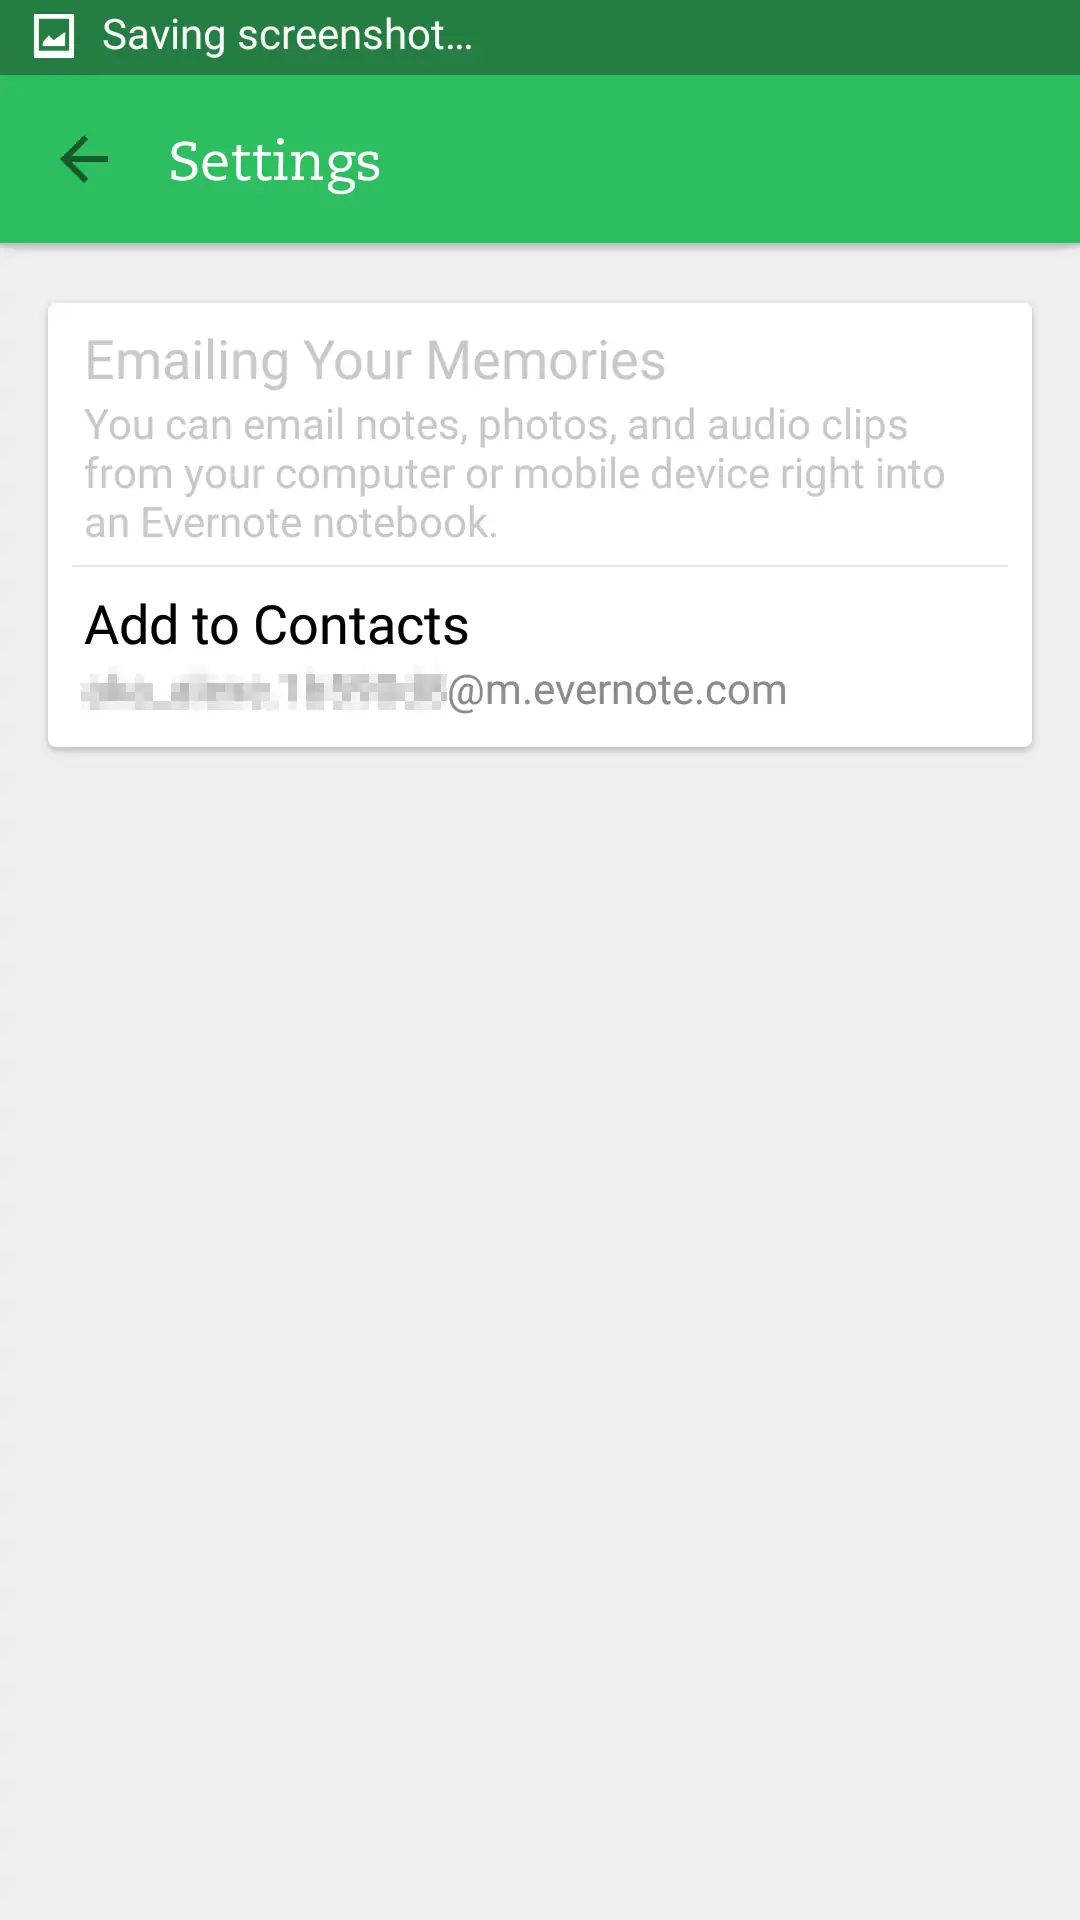
From Evernote’s main screen, tap on the three dots icon to open the Options menu and select Settings -> Account Info. In the Evernote Email section, you’ll find your Evernote email address. Tap on it to add it your email Contacts and from then on you can use it to forward messages from your mailbox to your Evernote account and the app will add them as notes.
Customize new notes

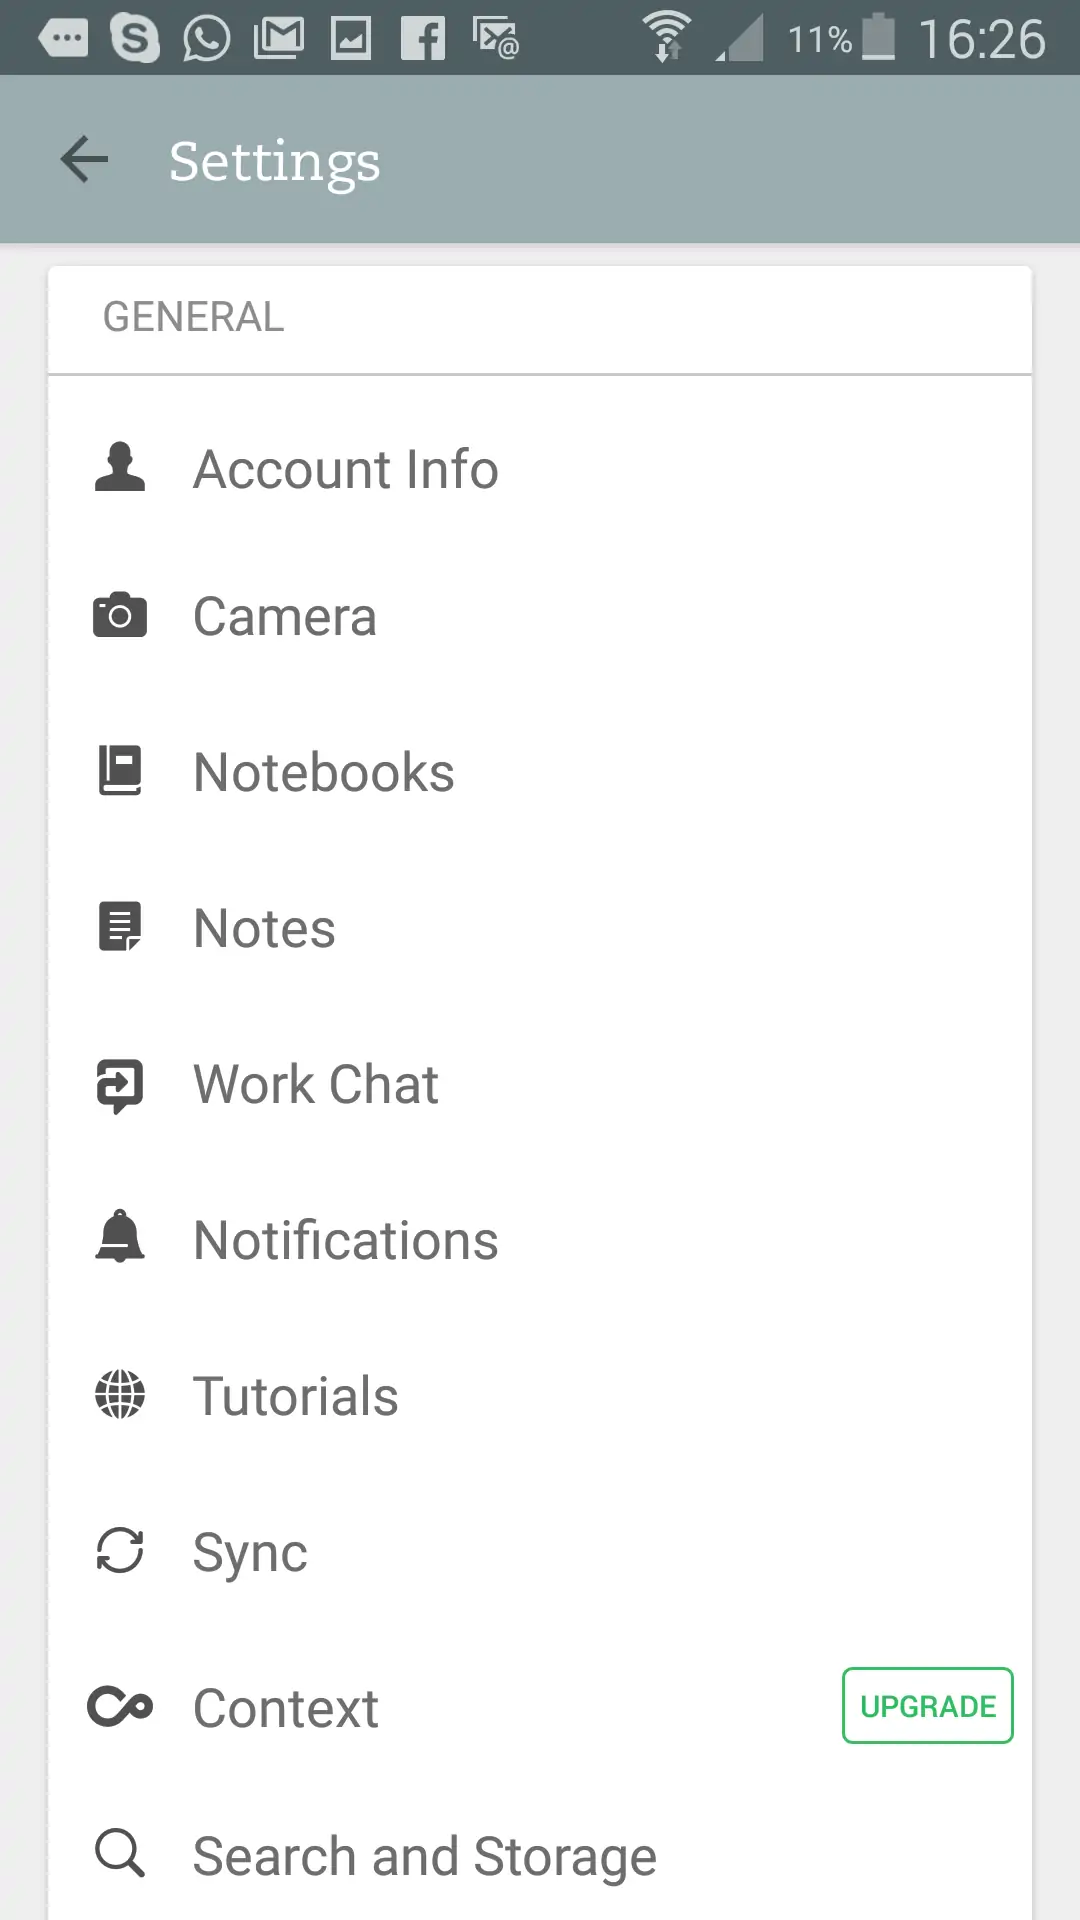
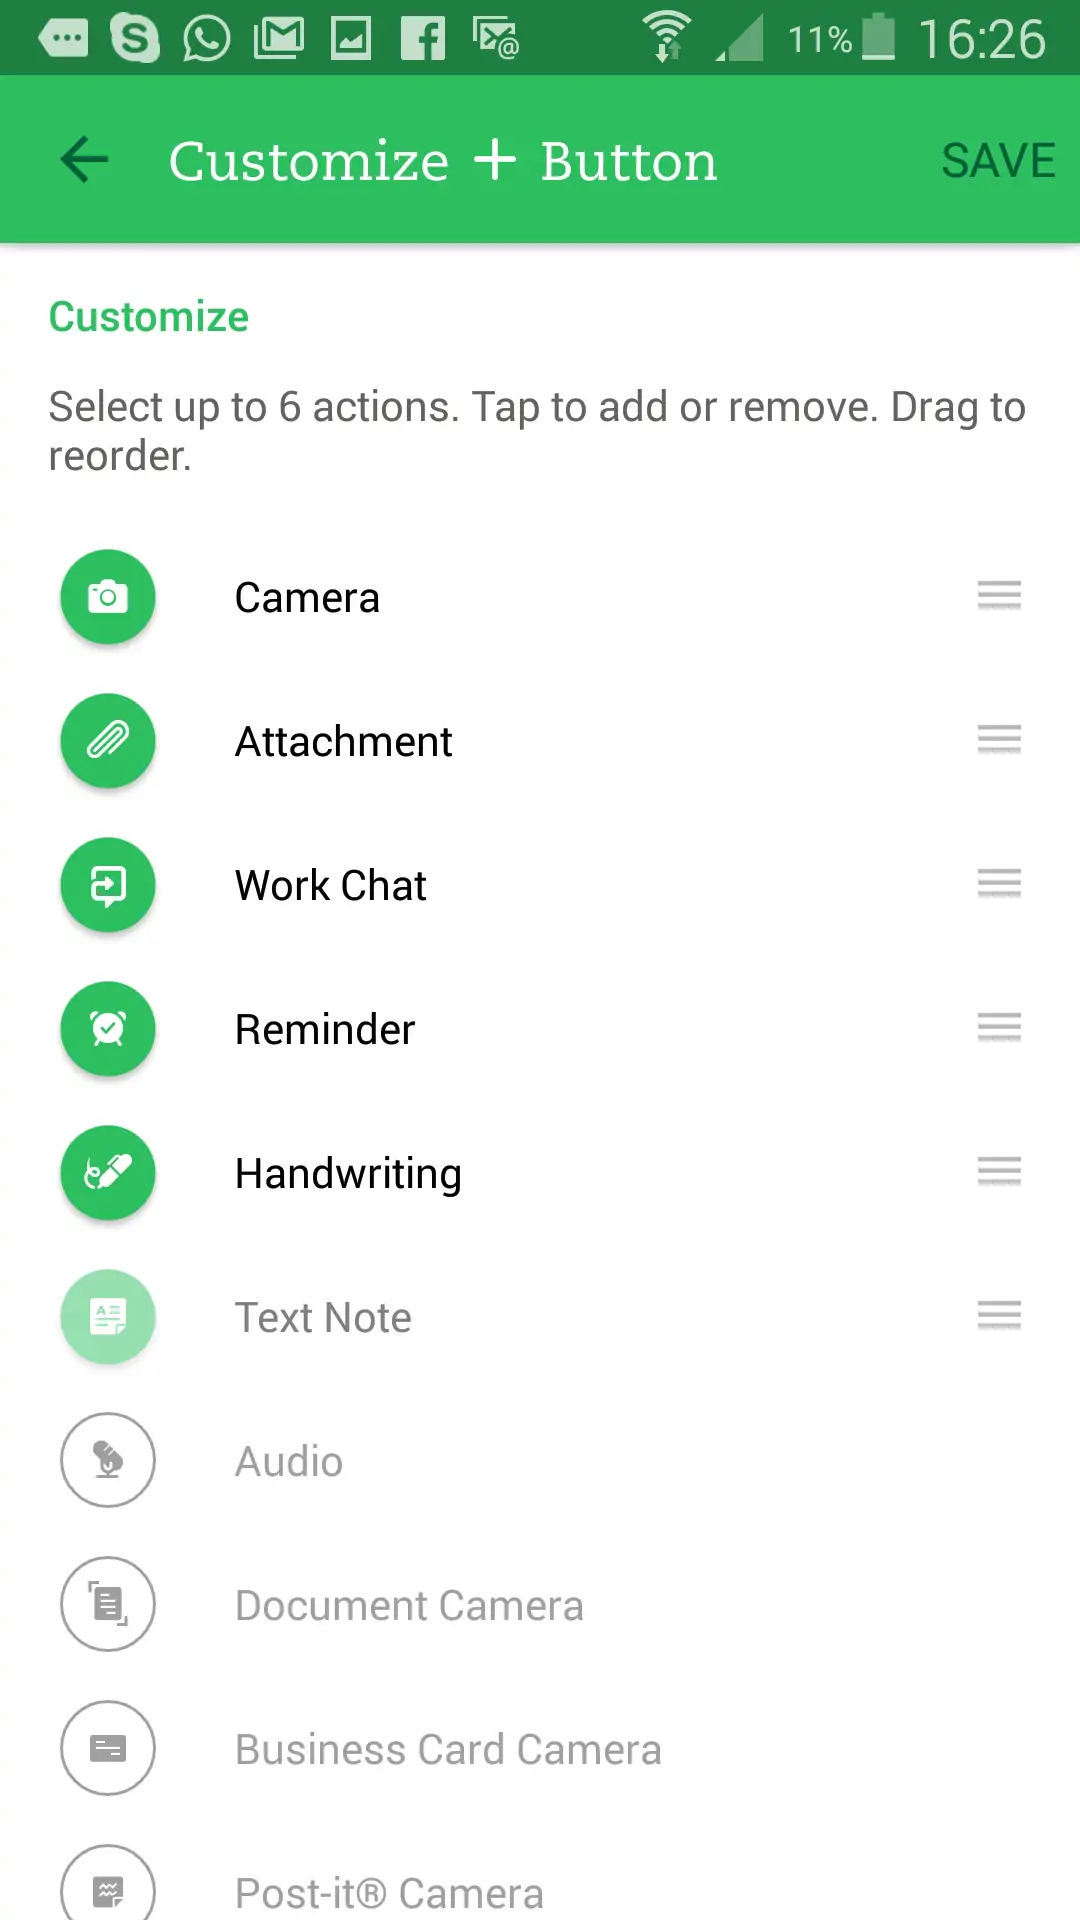
A set of note types is presented by default whenever you want to create a new note – Camera, Attachment, Work Chat and so on. Evernote has a few more note options that are not displayed in the default list, but you can easily customize it.
Tap on the three-dots icon in the upper-right area of the screen to open the Options menu, and navigate to Settings -> Notes -> Customize + Button. Then you can customize the 6 slots with the note types of your choice.
Set the default notebook
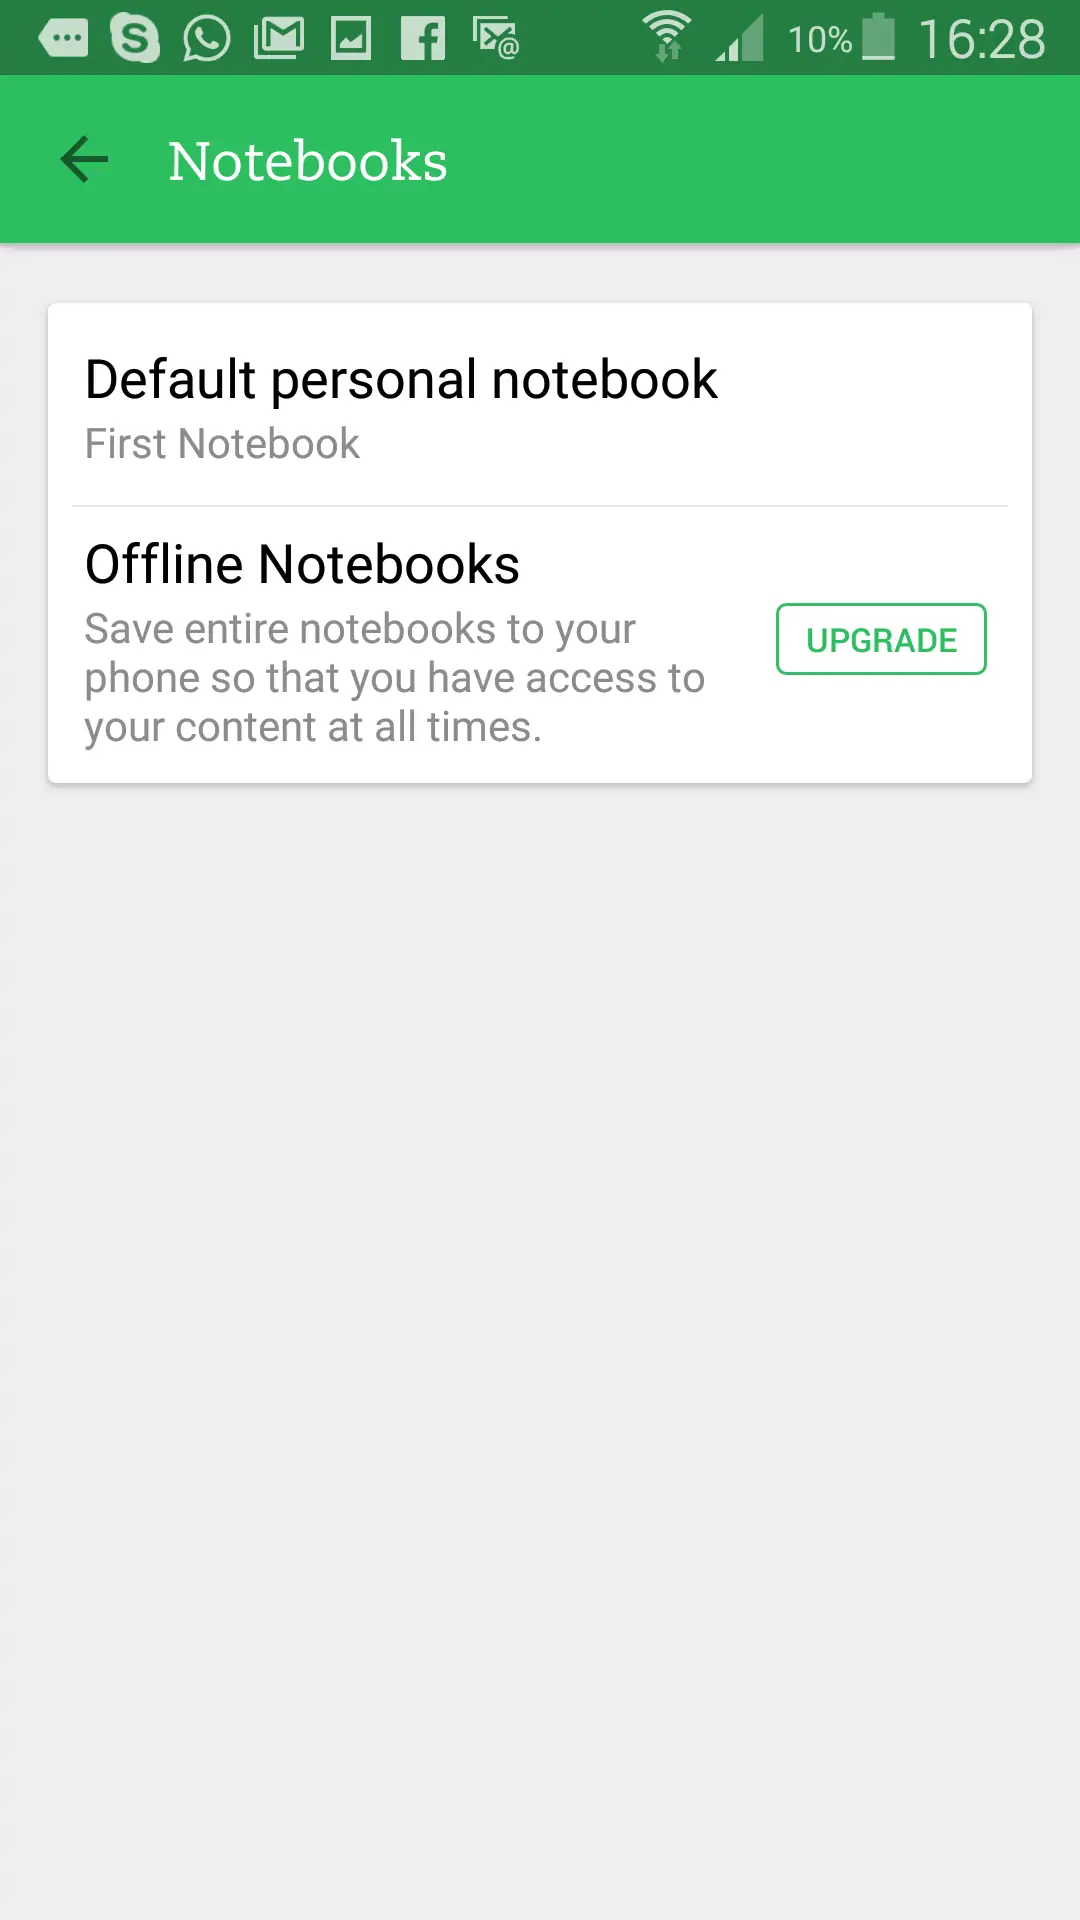
The default notebook in Evernote is the first notebook you create. If you have several notebooks in the app, you can manually change the default notebook to the one you use most frequently.
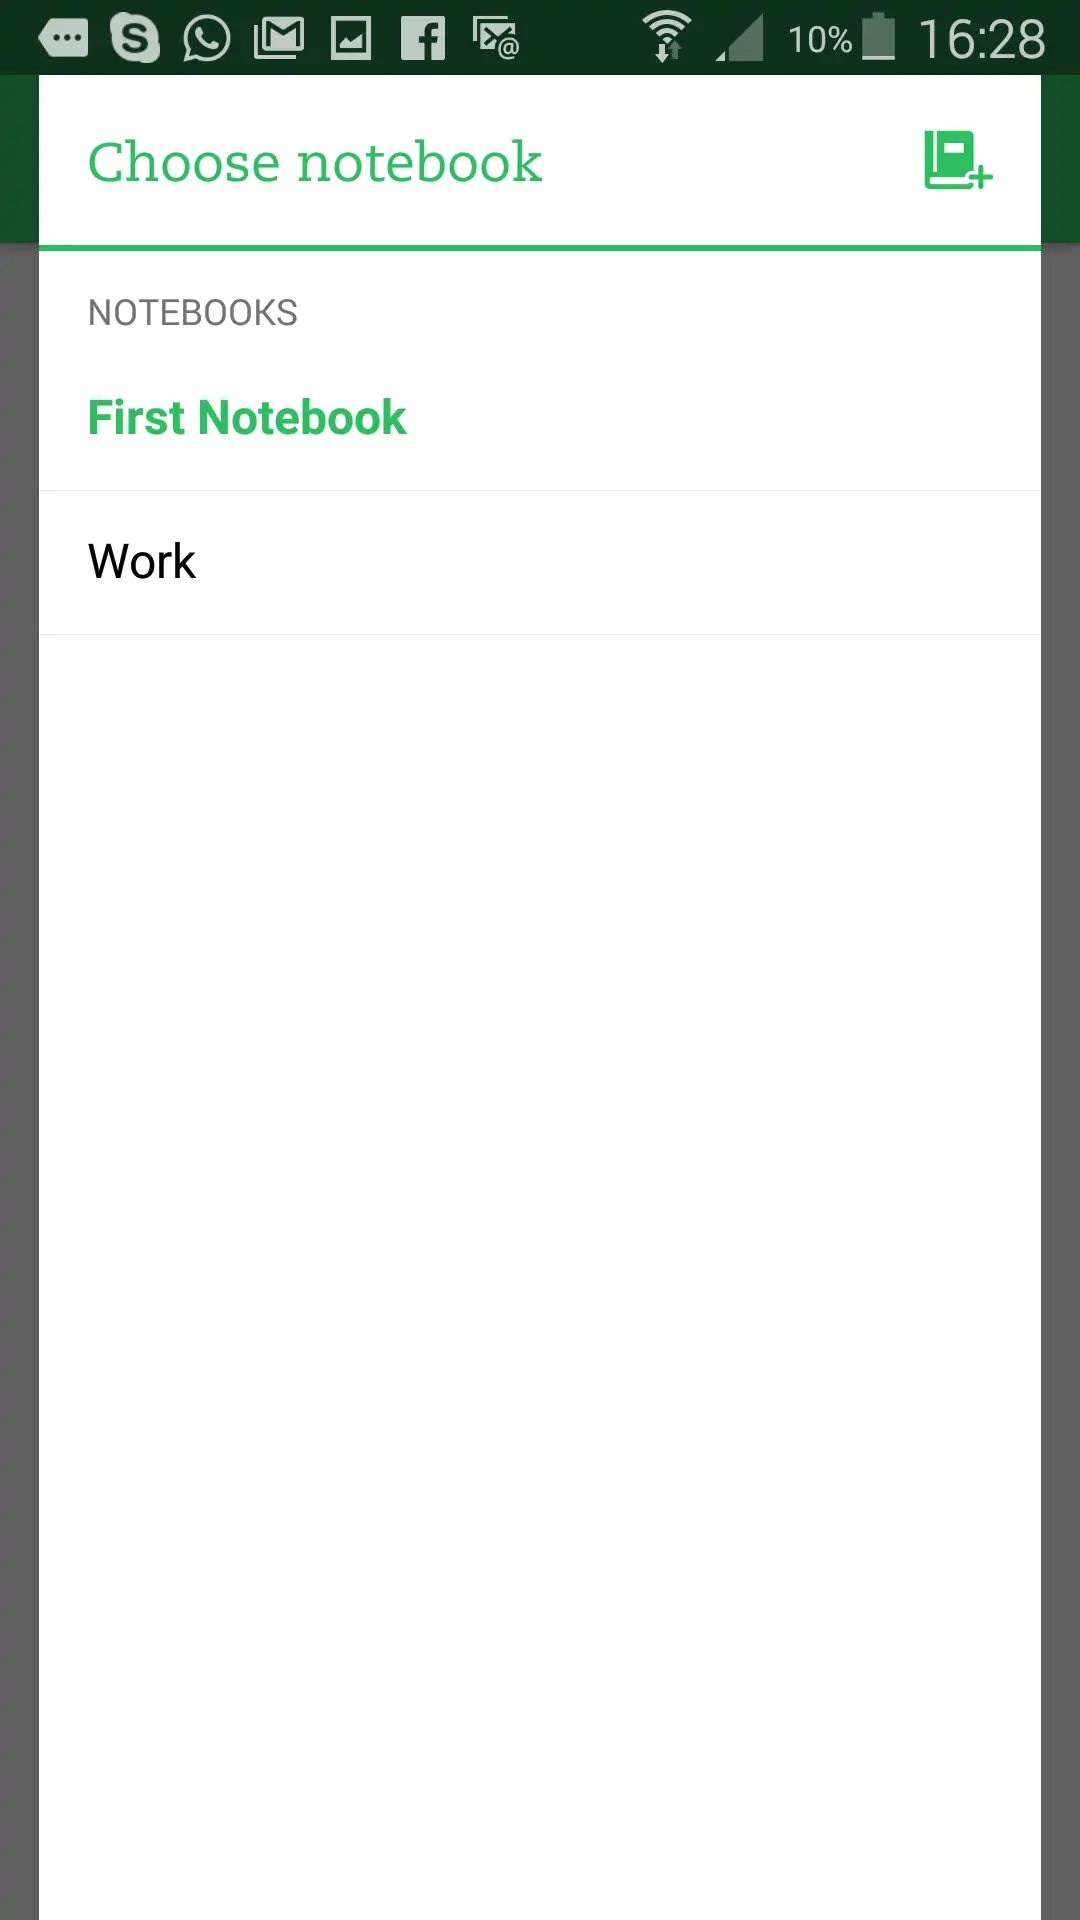
Open the Options menu by tapping on the three-dot icon in Evernote’s main screen, select Settings and go to Notebooks -> Default personal notebook. There, you will find all your existing notebooks listed and choose the new default.
From then on, the new default notebook will be the first notebook displayed on the app’s main screen.
Customize your Post-it notes tags
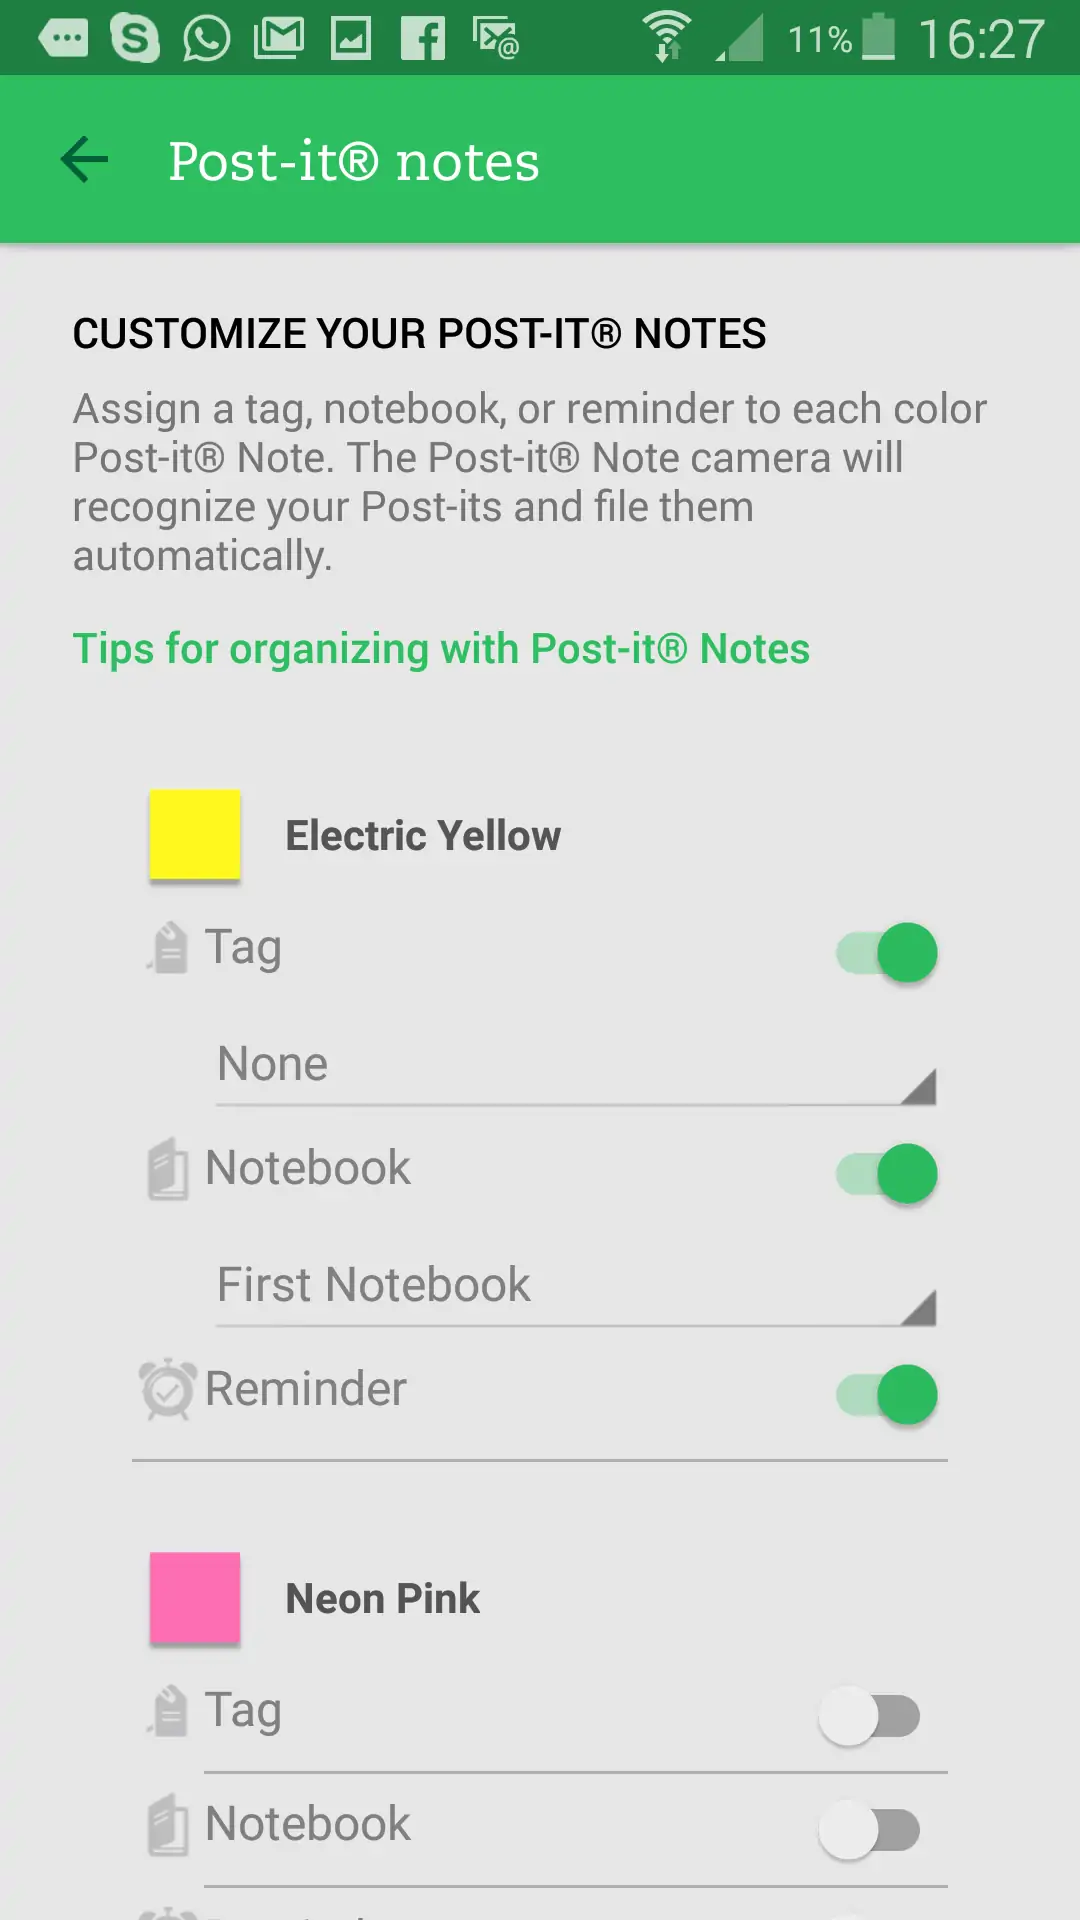
If you like the classic paper Post-it notes, you should know Evernote offers the digital equivalent. The app lets you take pictures of your Post-it notes and stores them as notes. to make management easier, Evernote lets you sort them by color.
To use this feature, tap on the three-dots icon, select Settings from the drop-down menu and navigate to Camera ->Post-it notes.
Here, you can set tags for each of your Post-it notes colors, set the app to save them in specific notebooks, as well as activate reminders for them.
Save Evernote photos to your Gallery
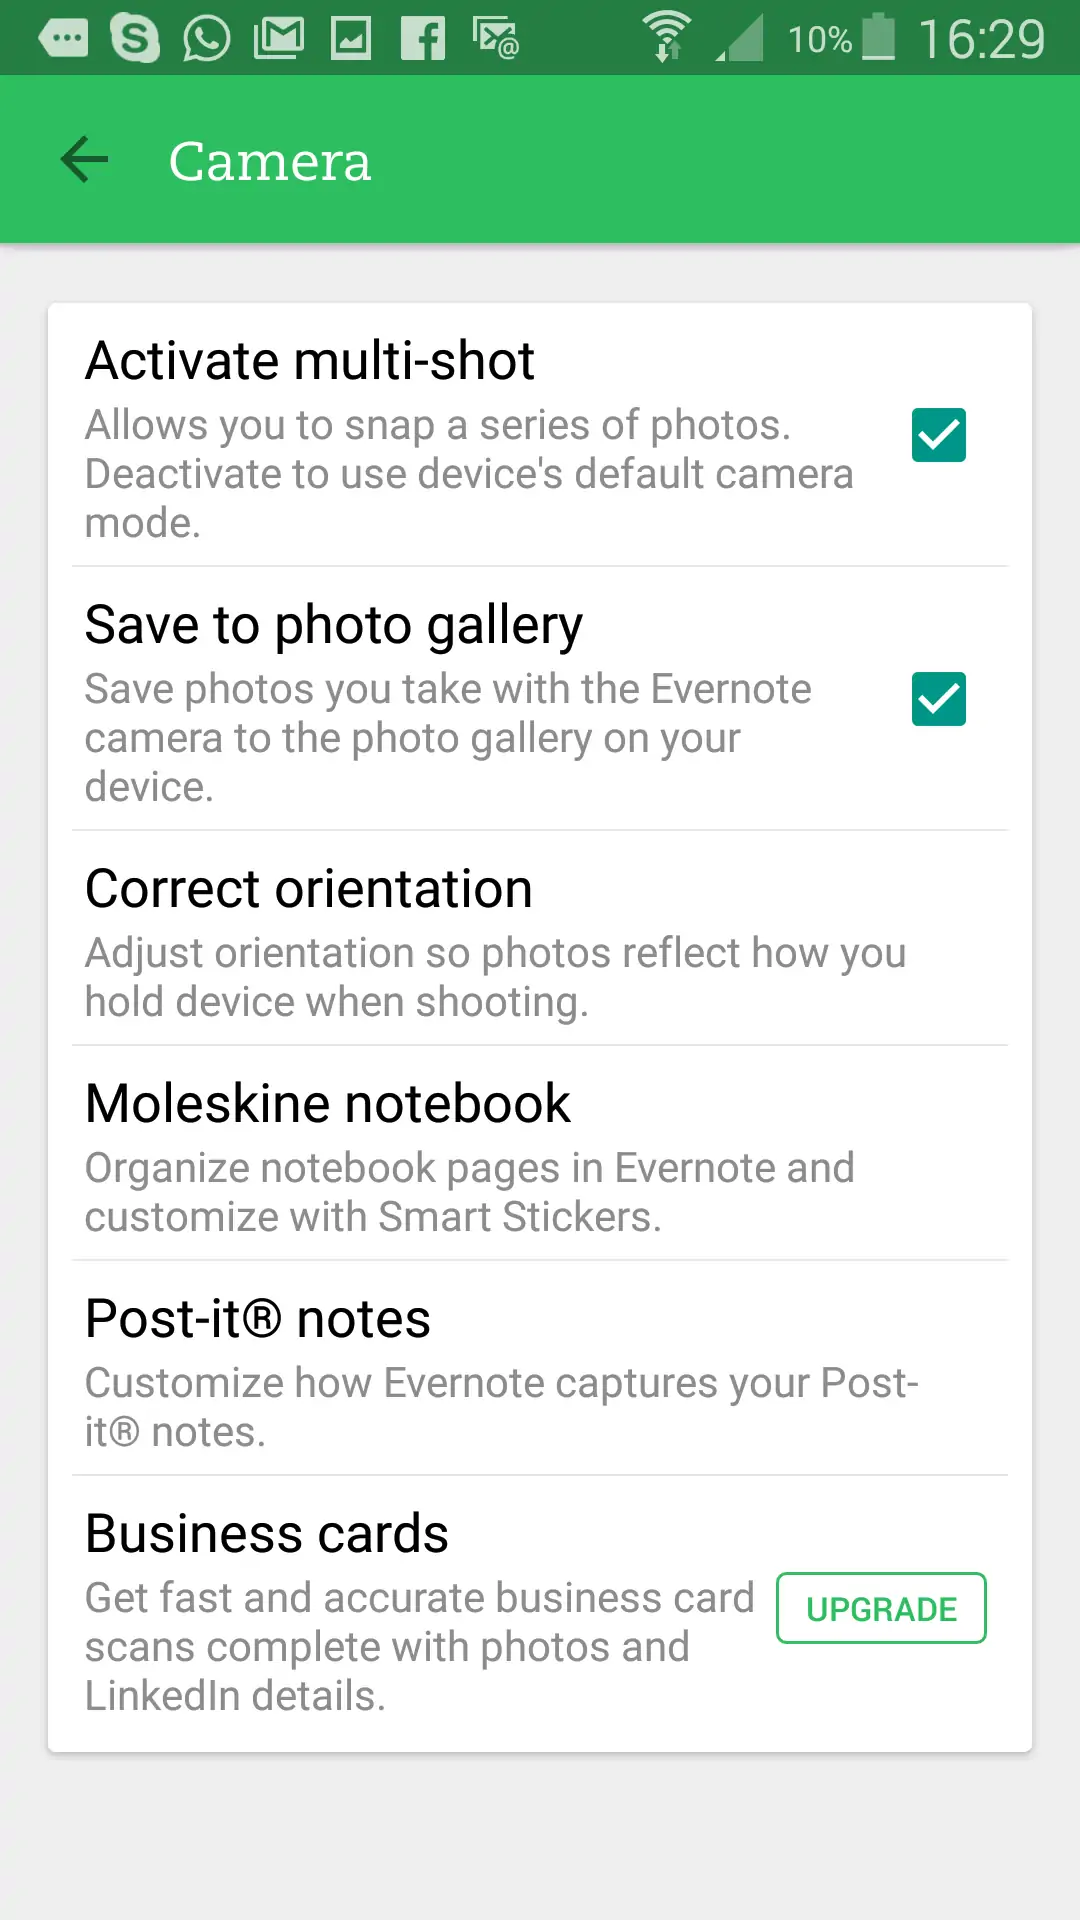
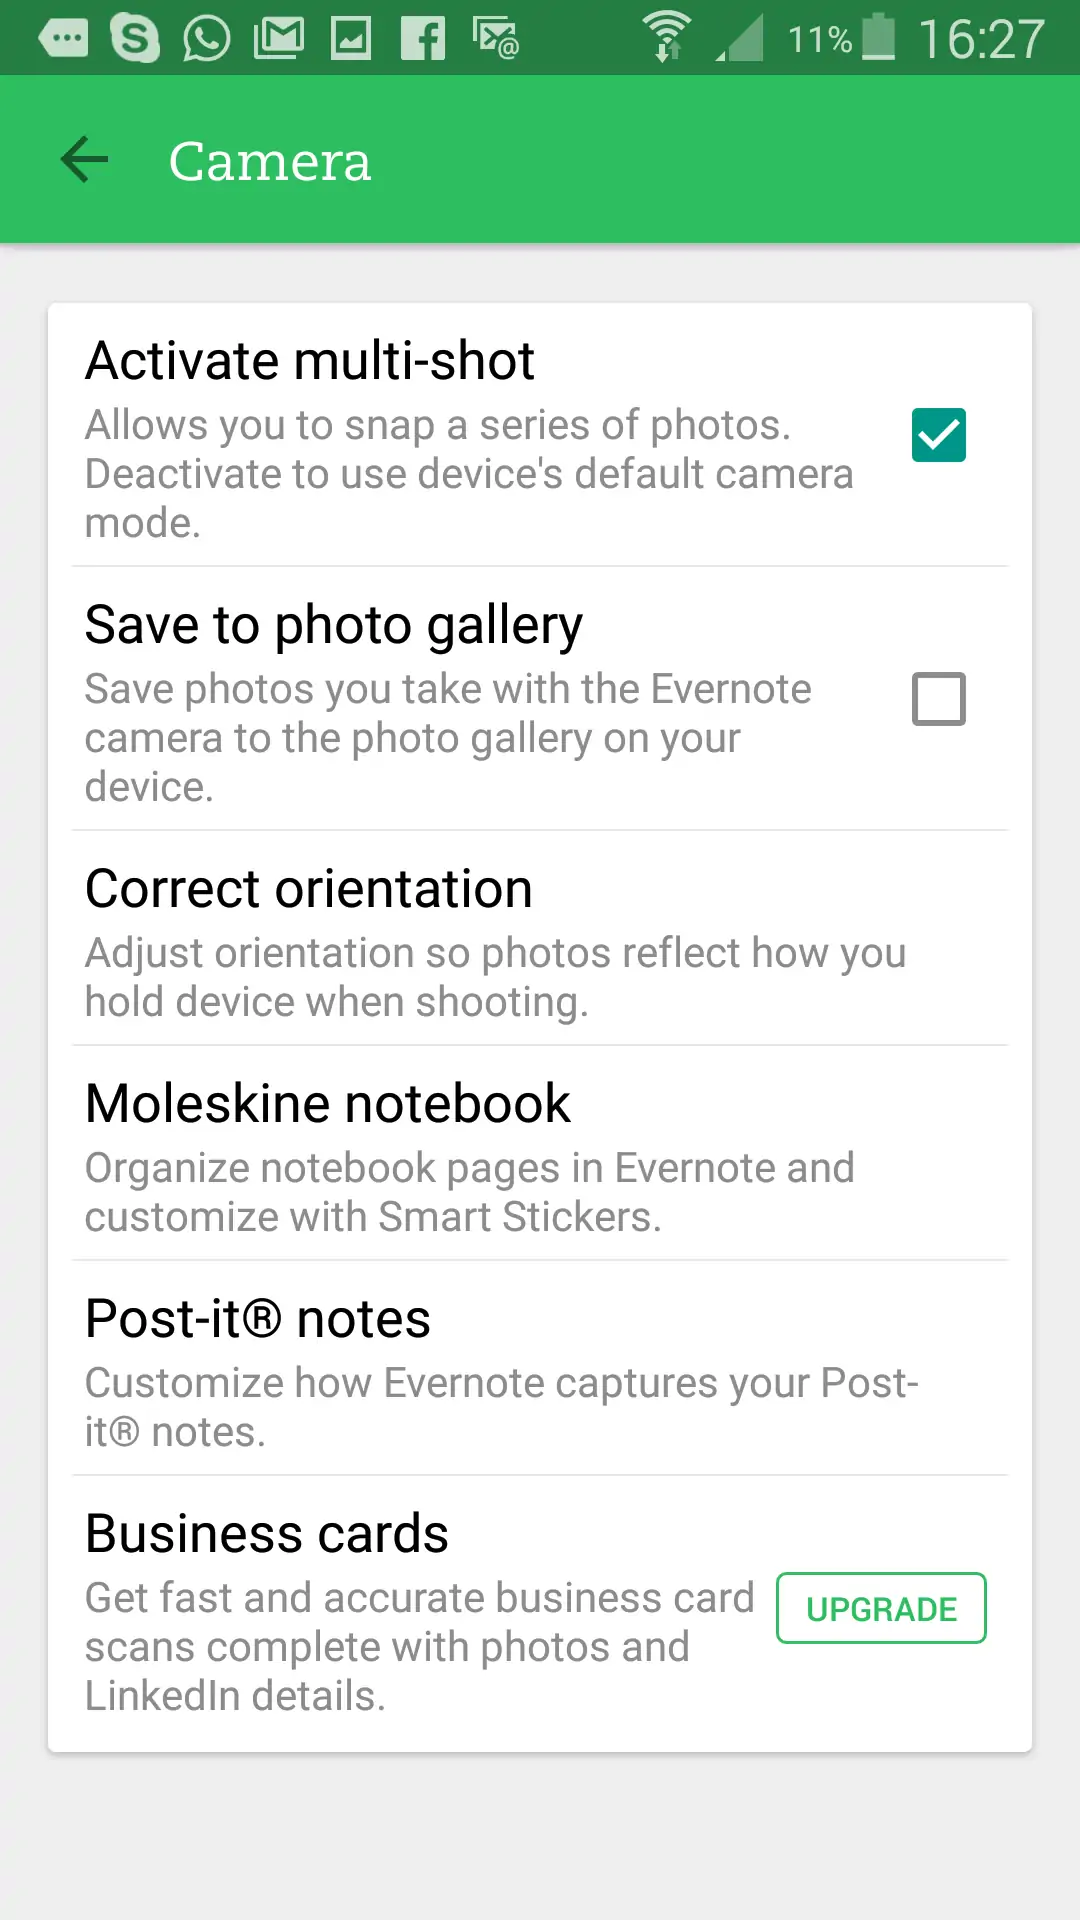
Any photos you take in Evernote are stored in notebooks. Nevertheless, if some of the photos that were taken inside the app are not notes, you might want to save them in a separate location. Luckily, the app provides an option that can automatically save photos to the default Gallery app. Here’s how to enable it:
Go to Options (the three-dots icon located in the top-right corner of the main screen) and select Settings -> Camera. Here, check the box next to the ‘Save to photo gallery‘ option.
Sync more frequently
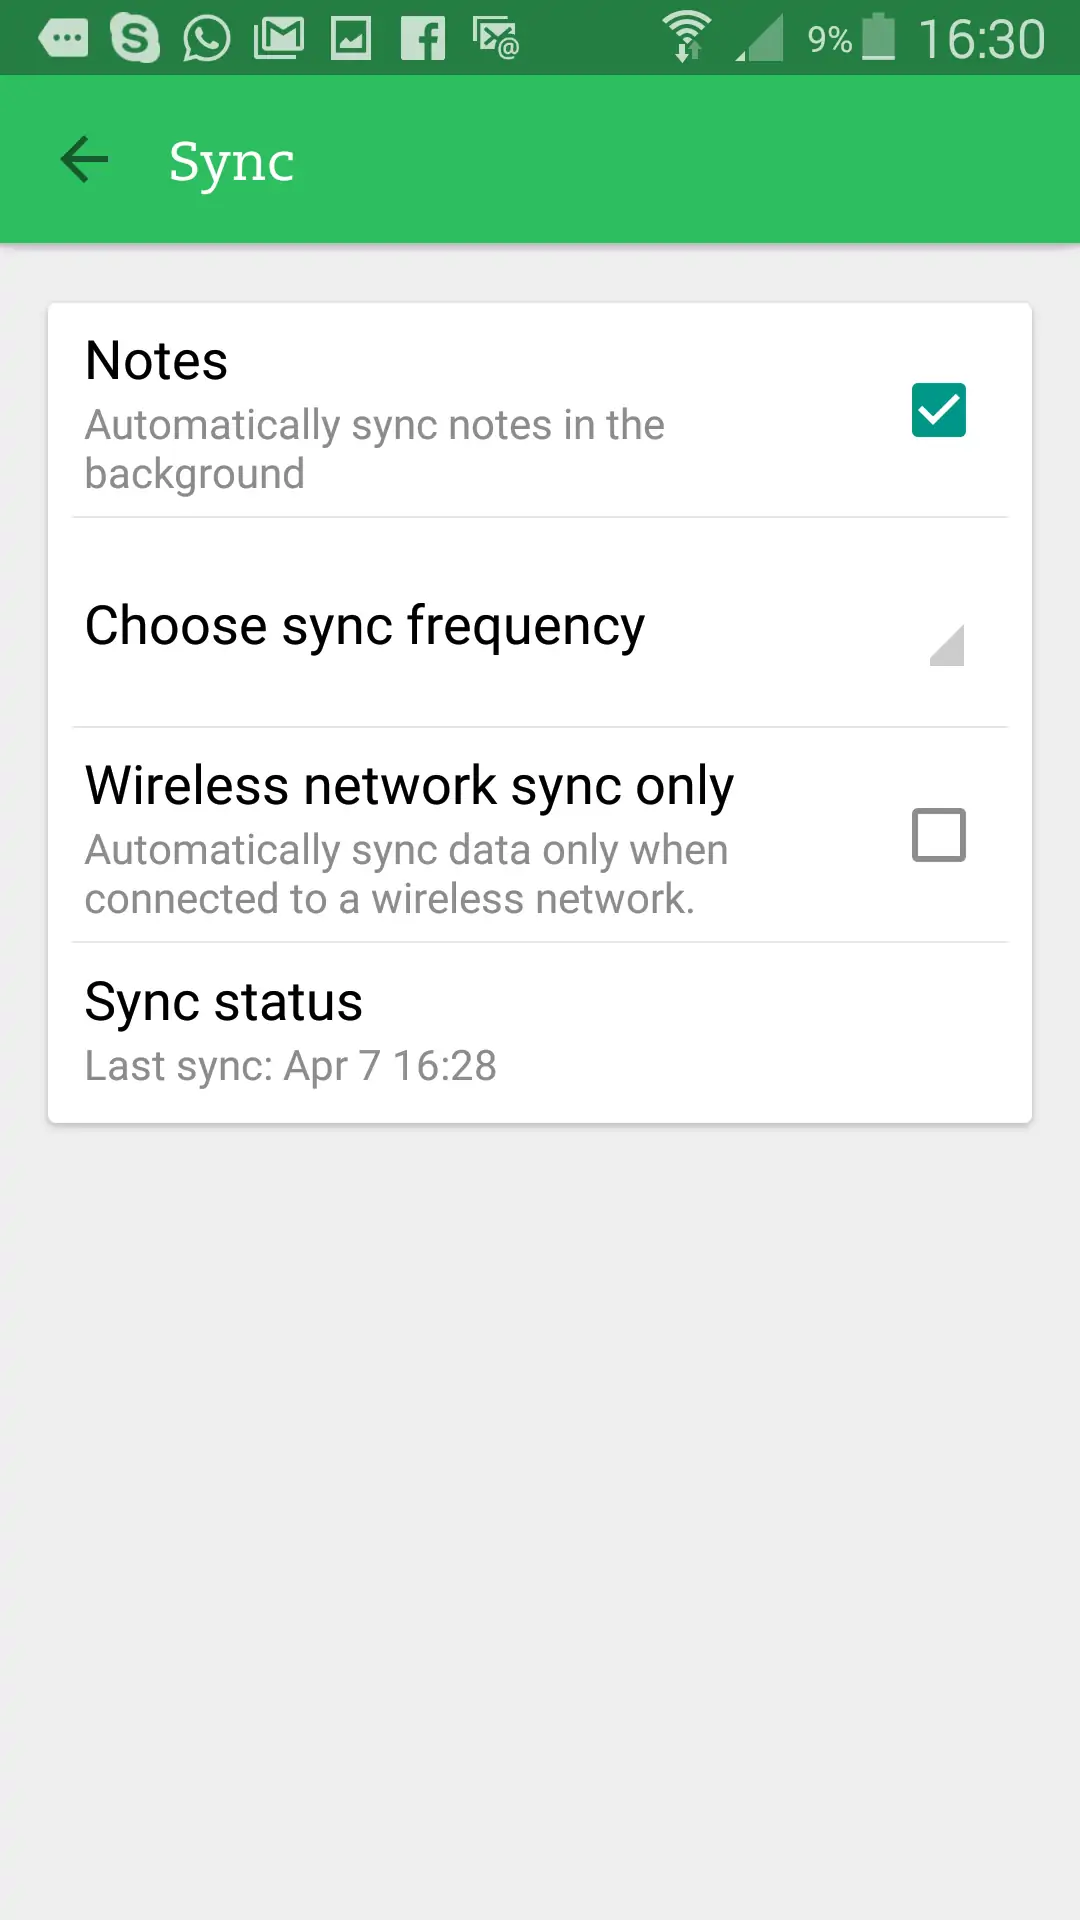
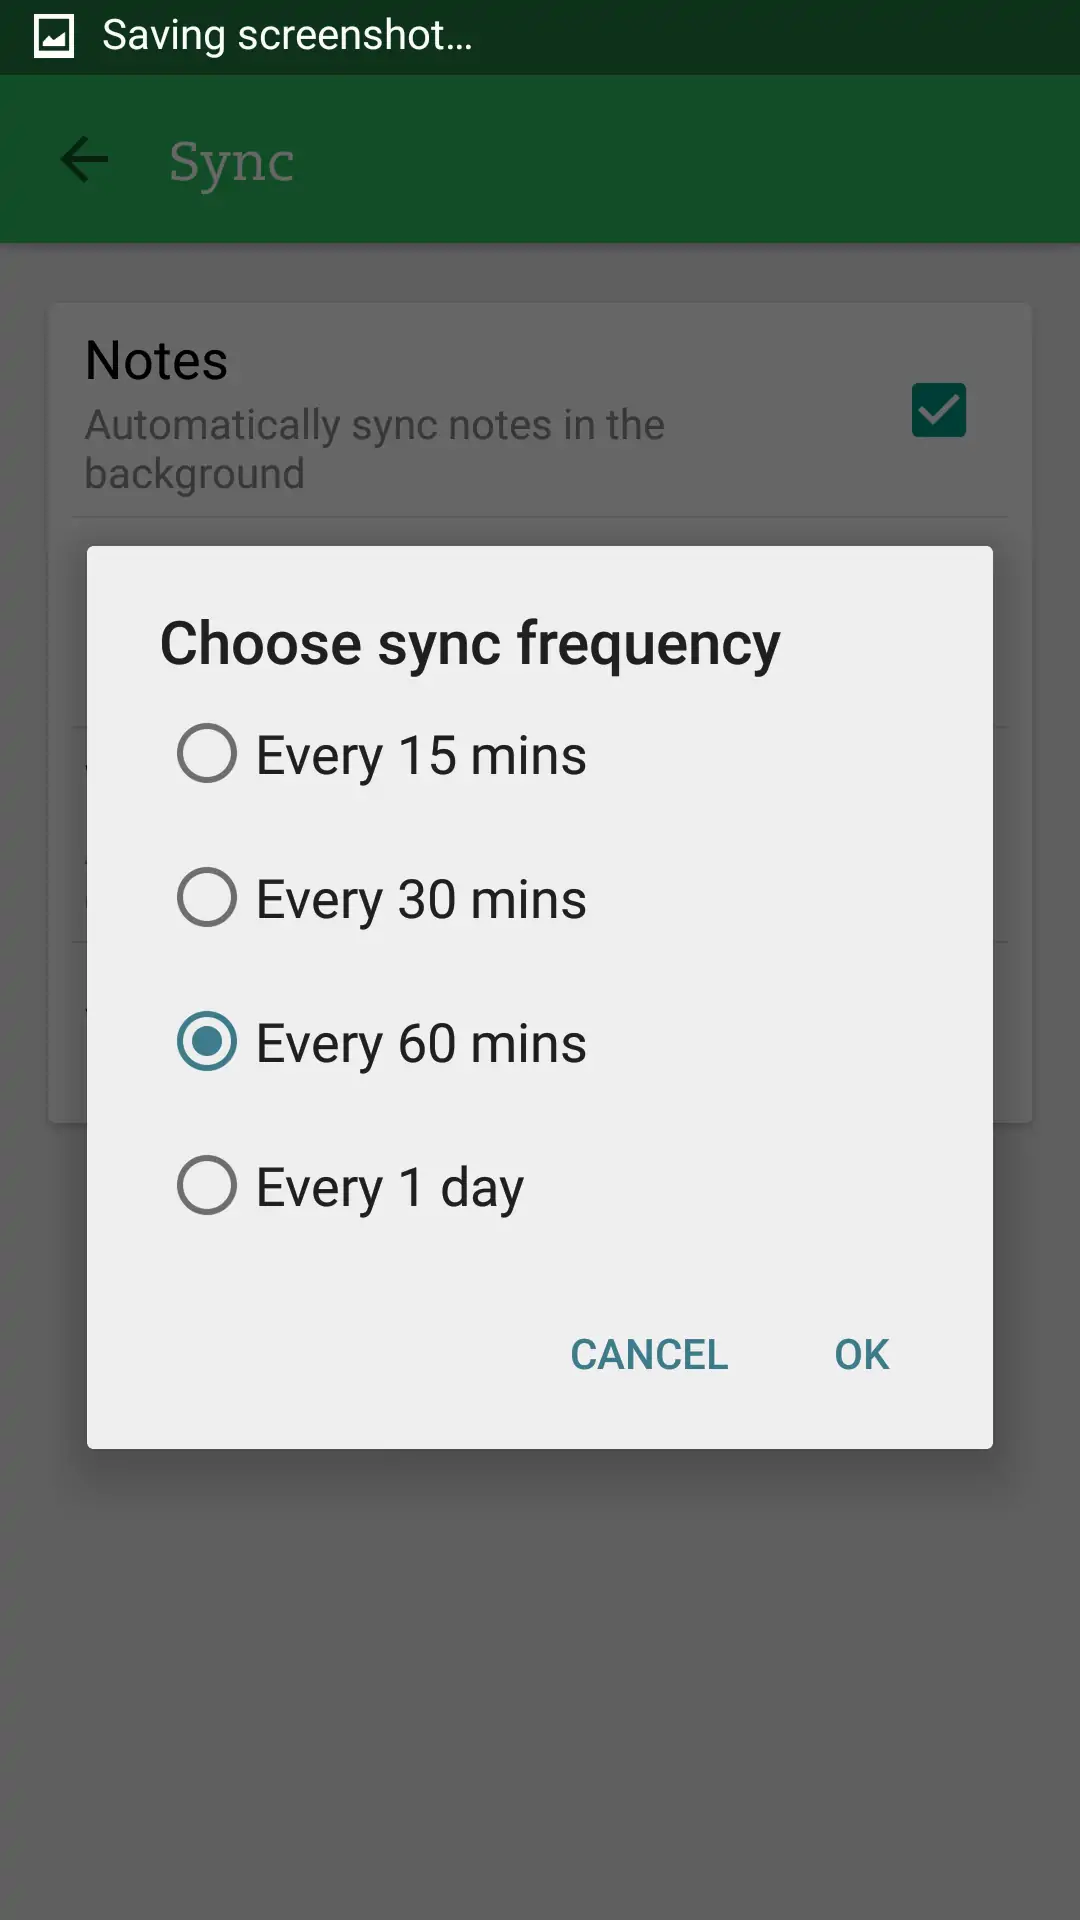
Evernote syncs your data with the rest of your connected devices as well as other users you’re collaborating on documents. By default, it’s set to sync on an hourly basis but you can easily increase the sync frequency.
Navigate to the Options menu (three-dots icon on the main screen) and select Settings -> Sync. There you can change the sync frequency and set it as low as once every 15 minutes. Of course, if you need to sync something right away, you can also do this manually directly from the Options menu.
Follow us on Facebook, Twitter and Google+ to stay up to date with the latest apps, games, guides and everything Android, iOS and Windows Phone.


")

