
The Xbox One’s 500GB or 1TB of internal storage is plenty enough to get you started, even if you install multiple games in a video gaming spree. However, people who use the console as their main media hub will quickly run out of space after moving their music, movies, and pictures to Microsoft’s console. Thankfully, setting up external storage devices is a very easy process on the Xbox One and hard drives have never been cheaper.
Media drives vs game storage dries
Though you can connect a number of different drives to your Xbox One, you cannot use all of them for the same purpose. If you are planning to store games and apps on the drive, it needs to support USB 3.0 and have a capacity of at least 256GB. Drives that do not meet these two requirements will be treated as media drives so you will only be able to store photos, movies, and music in them. Of course, that will give you plenty of space on the internal drive for games but that will not be enough for everyone.
Check your free space
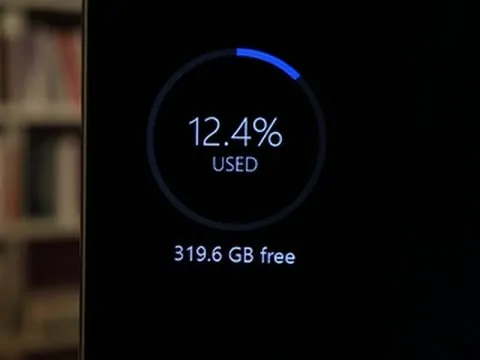
Though you might have a pretty good idea on how much space games take up on your hard drive, it is always a good idea to check in order to get precise data. While you are in the Xbox One’s Home screen, press the right trigger and open “My games & apps”. When that menu opens, look on the left side of the screen and you will see a meter showing the percentage of storage space currently in use as well as the amount of free space you have left.
It is worth noting that while the Xbox One automatically syncs your settings and saves to the cloud, it also keeps local copies. The console also reserves a portion of the drive for system files and important operations so some part of it will always be unavailable.
Setting up the drive
Both types of drives have similar setup processes so I am simply going to point out the differences as we go along.
1. Start by connecting the drive to a USB port of your console. You may also need to connect it to the AC adapter plug, depending on the drive.
2. When you connect a supported drive, the Xbox One will ask you to format it. At this point you have two options. Should you choose to format the drive, you will be able to use it for apps and games. Canceling the format means you will only be able to use the drive as a media storage device and the process ends there.
2b. You can always format the drive later by going to Settings > All settings > System > Storage. Once you are there, select the drive from the list and choose the “Format for games & apps” option.
3. Confirm that you want to format the drive by selecting the “Format storage device” option.
4. Enter a name for your drive and continue.
5. Choose whether you want to install new games and apps on the external drive or not.
6. Select the “Format storage device” option once again and wait until the process is finished.
Copying and moving apps and games to another drive
Since most of you will only install an external drive once you run out of space in the internal one, you may also want to know how you can move apps and games to the new drive in order to save some more space.
1. In the Home screen of Xbox One, press the right trigger and select “My games & apps” from the “My stuff” section.
2. Go to the “Games” or “Apps” section depending on what you want to copy/move.
3. Highlight the item you want to copy.
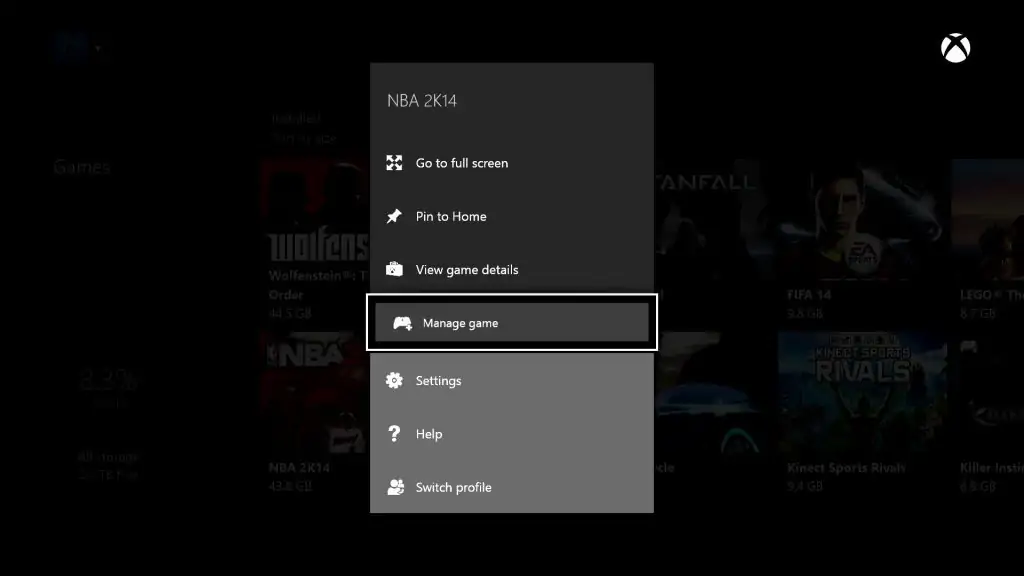
4. Press the Menu button (the old Start button) on your Xbox One controller.
5. Select the “Manage game/app” option.
6. To move everything into the new storage device, highlight the “Manage all” option. Otherwise, highlight the game itself.
7. Once you have made your choice, press the Menu button of your controller.
8. Select the “Copy” or “Move” option.
9. Confirm your choice and wait (for quite a bit) until the copy/transfer is complete.
10. When it is done, you will be taken back to the same “Manage X app/game” screen. In case you did not know already, you can press the Home/Xbox button to get to the main interface quickly.


")


