
Lenovo laptops are known for reliability and performance, but sometimes, even the best devices can encounter issues. One common problem many Lenovo laptop users face is a touchpad that stops working. This can be frustrating, especially if you rely on your touchpad for navigation. In this article, we will explore the potential software and hardware issues that may cause your touchpad to stop working and provide step-by-step solutions to help you fix the problem.
Potential Software Issues
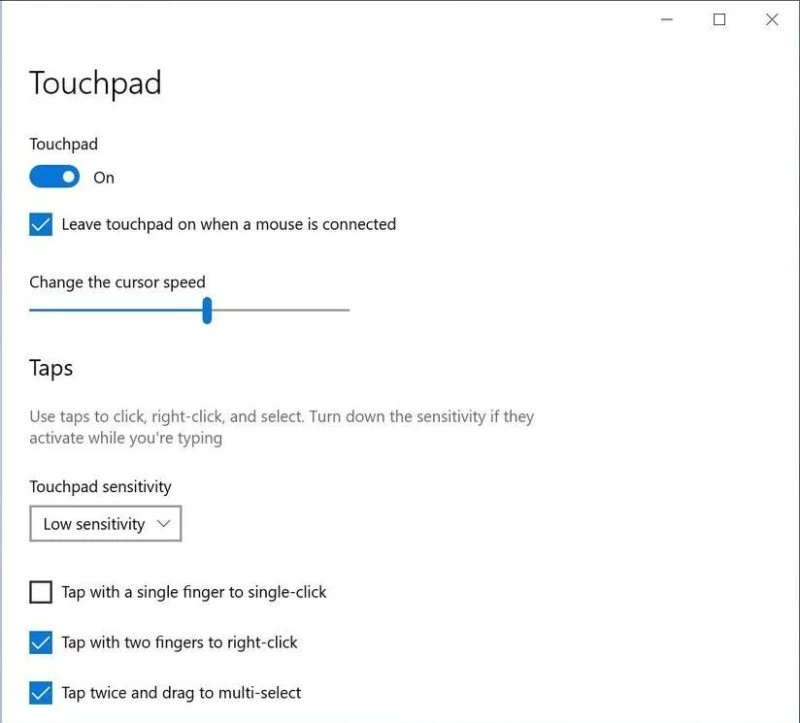
If your touchpad has stopped working on your Lenovo laptop, it is important first to check that the touchpad is enabled. Sometimes, the touchpad may accidentally be disabled, which can easily be resolved by enabling it. To check if your touchpad is enabled, follow these steps:
1. Check that the Lenovo Laptop Touchpad is Enabled
1. Press the Windows key on your keyboard to open the Start menu.
2. Type “Mouse settings” and click on the “Mouse settings” option that appears.
3. Click on the “Additional mouse options” link in the Mouse settings window.
4. Go to the “Device Settings” tab in the Mouse Properties window.
5. Locate your touchpad in the list of devices and make sure it is enabled. If it is disabled, click on the enable button to enable it.
6. Click “Apply” and then “OK” to save the changes.
2. Roll Back and then Update Your Driver
If your touchpad is enabled and still not working, the issue may be with the touchpad driver. Drivers are software components that allow your hardware devices, such as the touchpad, to communicate with the operating system. An outdated or incompatible touchpad driver can cause issues with the functionality of the touchpad. To fix this, you can try rolling back and then updating the touchpad driver. Here’s how:
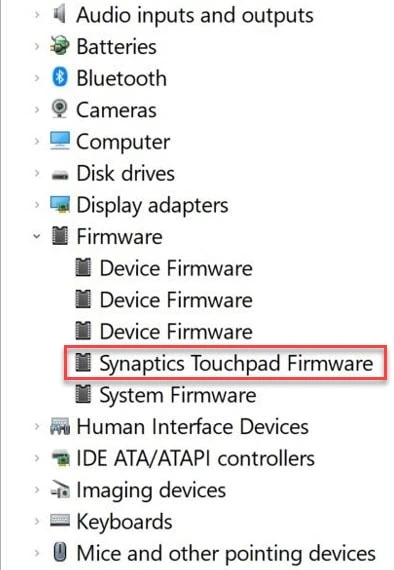
1. Press the Windows key + X and select “Device Manager” from the list of options.
2. expand the “Mice and other pointing devices” category in the Device Manager window.
3. Right-click on your touchpad device and select “Properties”.
4. In the Properties window, go to the “Driver” tab.
5. Click on the “Roll Back Driver” button and follow the on-screen instructions to roll back the driver.
6. Once the driver has been rolled back, return to the “Driver” tab and click the “Update Driver” button.
7. Select the option to automatically search for updated driver software and follow the on-screen instructions to update the touchpad driver.
8. After the driver has been updated, restart your computer and check if the touchpad is working.
3. Increase Touchpad Sensitivity
If your touchpad is enabled and the driver is up to date but still experiencing issues, it may be due to the touchpad sensitivity settings. By increasing the touchpad sensitivity, you can improve the responsiveness of the touchpad. Here’s how:
1. Press the Windows key on your keyboard to open the Start menu.
2. Type “Mouse settings” and click on the “Mouse settings” option that appears.
3. In the Mouse settings window, click on the “Additional mouse options” link.
4. In the Mouse Properties window, go to the “Pointer Options” tab.
5. Under the “Motion” section, increase the slider for “Select a pointer speed” to increase touchpad sensitivity.
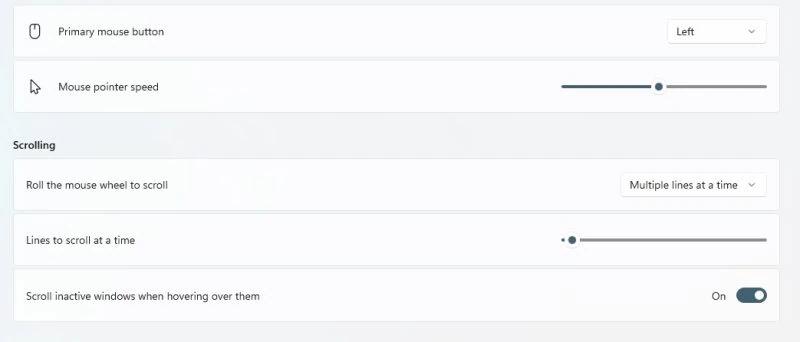
6. Click “Apply” and then “OK” to save the changes.
Hardware Issues
If the above software solutions did not resolve the issue, your touchpad may have a hardware problem. Hardware issues can be more complex to fix and may require professional assistance. Here are some common hardware issues that may cause the touchpad to stop working:
1. Loose or Disconnected Cable
If your touchpad has recently stopped working and you have not made any software changes or updates, it is possible that the touchpad cable inside your laptop has become loose or disconnected. In this case, you may need to open your laptop and check the cable connections. If you are not comfortable doing this yourself, it is recommended to seek assistance from a professional technician.
2. Faulty Touchpad Hardware
Sometimes, the touchpad itself may be faulty, requiring a replacement. If you have tried all the software troubleshooting steps and your touchpad still does not work, it is possible that the touchpad hardware has malfunctioned. Contact Lenovo customer support or a qualified technician for further guidance on repairing or replacing the touchpad hardware.
FAQs
What to do when Lenovo touchpad is not working after Windows update?
If your Lenovo touchpad stopped working after a Windows update, you can try the following steps to resolve the issue:
1. Restart your computer and check if the touchpad starts working again. Sometimes, a simple restart can fix temporary glitches caused by the update.
2. If restarting does not work, try rolling back the touchpad driver to the previous version. Follow the steps mentioned earlier in this article to roll back the driver.
3. If rolling back the driver does not solve the issue, you can try updating the touchpad driver to the latest version. Follow the steps mentioned earlier in this article to update the driver.
4. If none of the above steps work, it is recommended to contact Lenovo customer support for further assistance.
What function key disables touchpad on Lenovo laptop?
On most Lenovo laptops, the function key combination used to disable the touchpad is Fn + F6. Pressing these keys simultaneously toggles the touchpad on or off. If this key combination does not work on your Lenovo laptop, refer to your laptop’s user manual or the Lenovo support website for the specific key combination for your model.
How do I reset my Lenovo touchpad?
If you are experiencing issues with your Lenovo touchpad and none of the above solutions have worked, you can try resetting the touchpad settings to their default values. Here’s how:
1. Press the Windows key on your keyboard to open the Start menu.
2. Type “Mouse settings” and click on the “Mouse settings” option that appears.
3. In the Mouse settings window, click on the “Additional mouse options” link.
4. In the Mouse Properties window, go to the “Touchpad” tab.
5. Click on the “Reset” button to reset the touchpad settings to their default values.
6. Click “Apply” and then “OK” to save the changes.
Conclusion
In conclusion, a touchpad not working on a Lenovo laptop can be frustrating, but it can usually be resolved by following a few simple steps. You can often fix software-related issues by checking that the touchpad is enabled, rolling back and updating the touchpad driver, and adjusting the touchpad sensitivity settings. If the problem persists, it may indicate a hardware problem requiring professional assistance. Remember to always backup your important files and data before making any changes to your system. If you’re unsure how to proceed or are uncomfortable performing any of the troubleshooting steps, it’s always best to seek help from a qualified technician.


")


