
PowerPoint comes with a lot of features, but many of them are often overlooked. Instead of downloading a third-party software or web app to edit photos while creating a presentation, you can actually just stay on the Microsoft PowerPoint. There are plenty of built-in tools that you can use to enhance images.
Here’s how to blur either a photo for background or a portion of an image in PowerPoint:
How to blur image backgrounds on PowerPoint
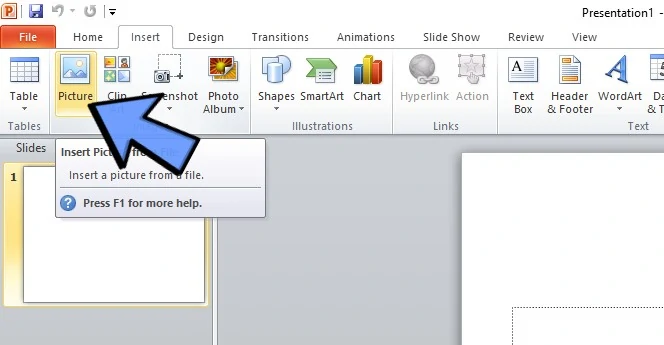
1. Open the Image on PowerPoint
Open your PowerPoint and on the Insert tab, click on Picture. From the dropdown menu, choose the source of the photo that you will use (e.g. from a device or online). For other versions, there might be no dropdown menu for options, so you will have to add photos from your desktop.
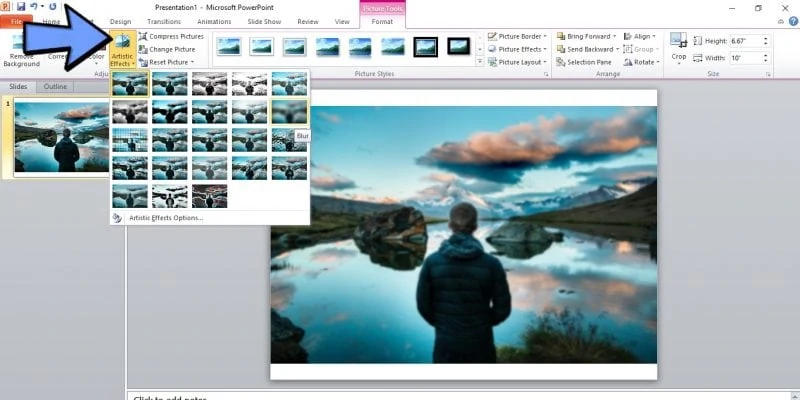
2. Use Built-in Artistic Effects
Once the image is on the Slide, you’ll automatically see the Picture Tools on your toolbar. If not, you can click on the Format Picture tab. Click on the Artistic Effects and choose what style you want your blur effect to look.
3. Adjust your Artistic Effects Radius
To blur just the background, use Artistic Effects formatting options to adjust the blur effect. Depending on your Windows version, the Format picture menu may appear on the side of your screen or as a pop-up menu.
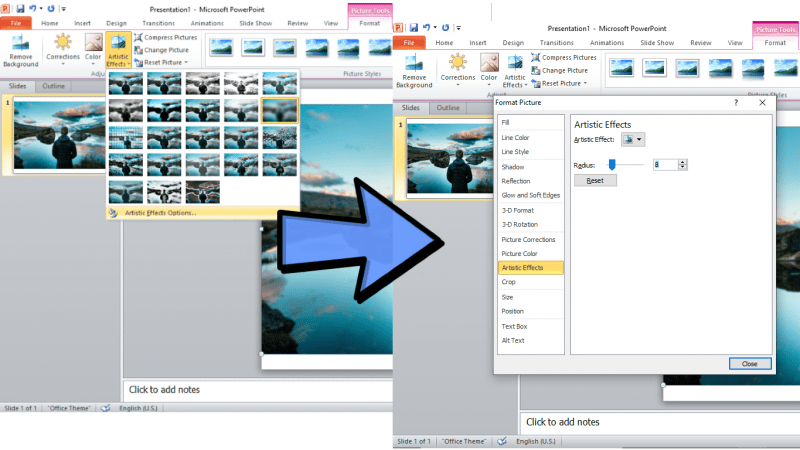
Once you click the Artistic Effect, it will either automatically make a Format Picture menu appear on the side of your screen. If there’s none, click on the Artistic Effects, and from the drop-down menu of effects, look for the Artistic Effects Options at the bottom
You’ll be prompted to an option to adjust the Radius of your effect. It is often set to 10 but you can tweak it if you need to.
Also: The Best G Suite Add-Ons You Need to Have
How to blur a portion of an image on Powerpoint
To blur just a portion of the picture you can also make use of the Insert Shape tool. Here’s how:
1. Select the Area You want to Blur
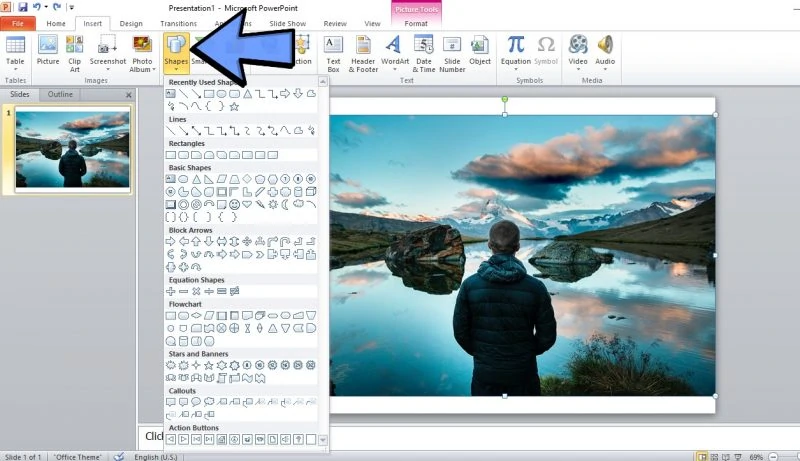
Once you have a photo on the slide, click on Insert > Shape from the Menu Bar to draw a shape over the area you want to blur.
2. Select the Color Tone of the Blur Effect
On the Format tab, select Shape Fill > Eyedropper then select a part of the picture with the color you want the blurred shape to be.
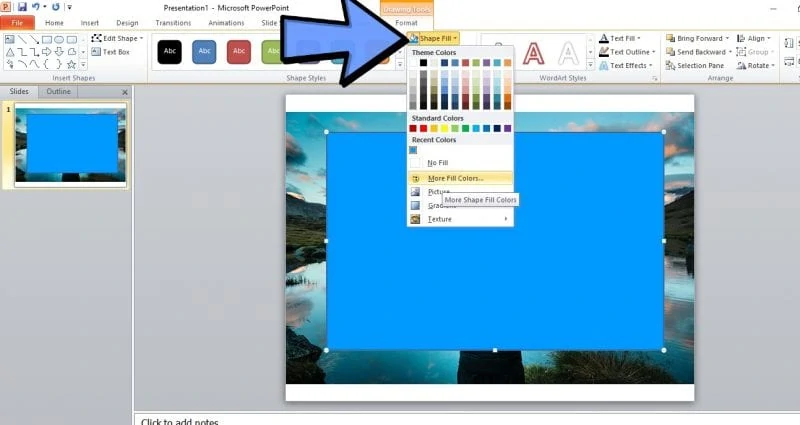
If your PowerPoint version does not have the Eyedropper function yet, you can simply choose a color by clicking Shape Fill > More Colors, then choose a color you prefer. We suggest you choose a color near the hue of the area you want to blur.
3. Apply Soft Edges Effect
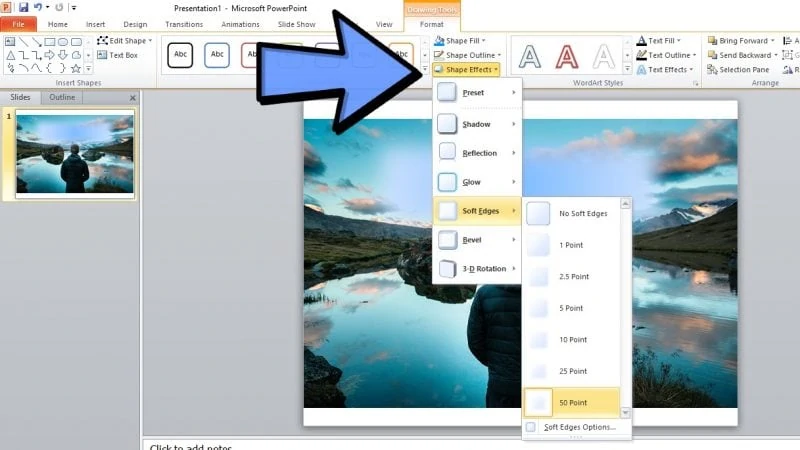
Afterward, on the Format tab, select Shape Effects > Soft Edges. Point at one of the Soft Edge Variations to see a preview of the effect and select the one you think would look best on the project. You can also adjust the size and placing of the blur effect if needed.
4. Save as Photo
To save or use the edited phot, select the shape then press Ctrl and click the border of the picture. On the Format tab, select Group > Group.

Right-click the grouped objects and select Save as Picture. You can now use the edited picture in PowerPoint, or insert it in any Office file.


")


